Weekend Plumbing Rescue: Fixing a Sink Leak and Upgrading a Shower in Harriman
Plumbing | Harriman | Plumbing in Harriman
Every homeowner in Harriman knows how a small drip can turn into a major hassle. In this case, a homeowner discovered water pooling beneath their kitchen sink, and on a follow-up request, they had purchased a new showerhead that didn’t quite fit their existing setup.
The homeowner’s dilemma:
- A leak under the kitchen sink, due to a pipe cut too short and creating tension at the joints
- A showerhead from an online retailer that wouldn’t screw onto the current shower arm
Here’s how it was resolved:
- During the first visit, an HEP technician rebuilt the under-sink drain line using a correctly sized pipe section. All joints were secured and pressure-tested to ensure there were no leaks.
- After ordering the proper chrome extension for the shower arm, the HEP technician returned to install an 11-inch arm and attach the homeowner-supplied showerhead. Final tests confirmed smooth water flow and leak-free performance.
Now you can take away these homeowner-friendly tips when facing similar issues:
1. Inspect Under-Sink Piping Regularly
Even a slight mismatch in pipe length can strain connections and cause leaks over time. Check under your sink for any water stains or pooling.
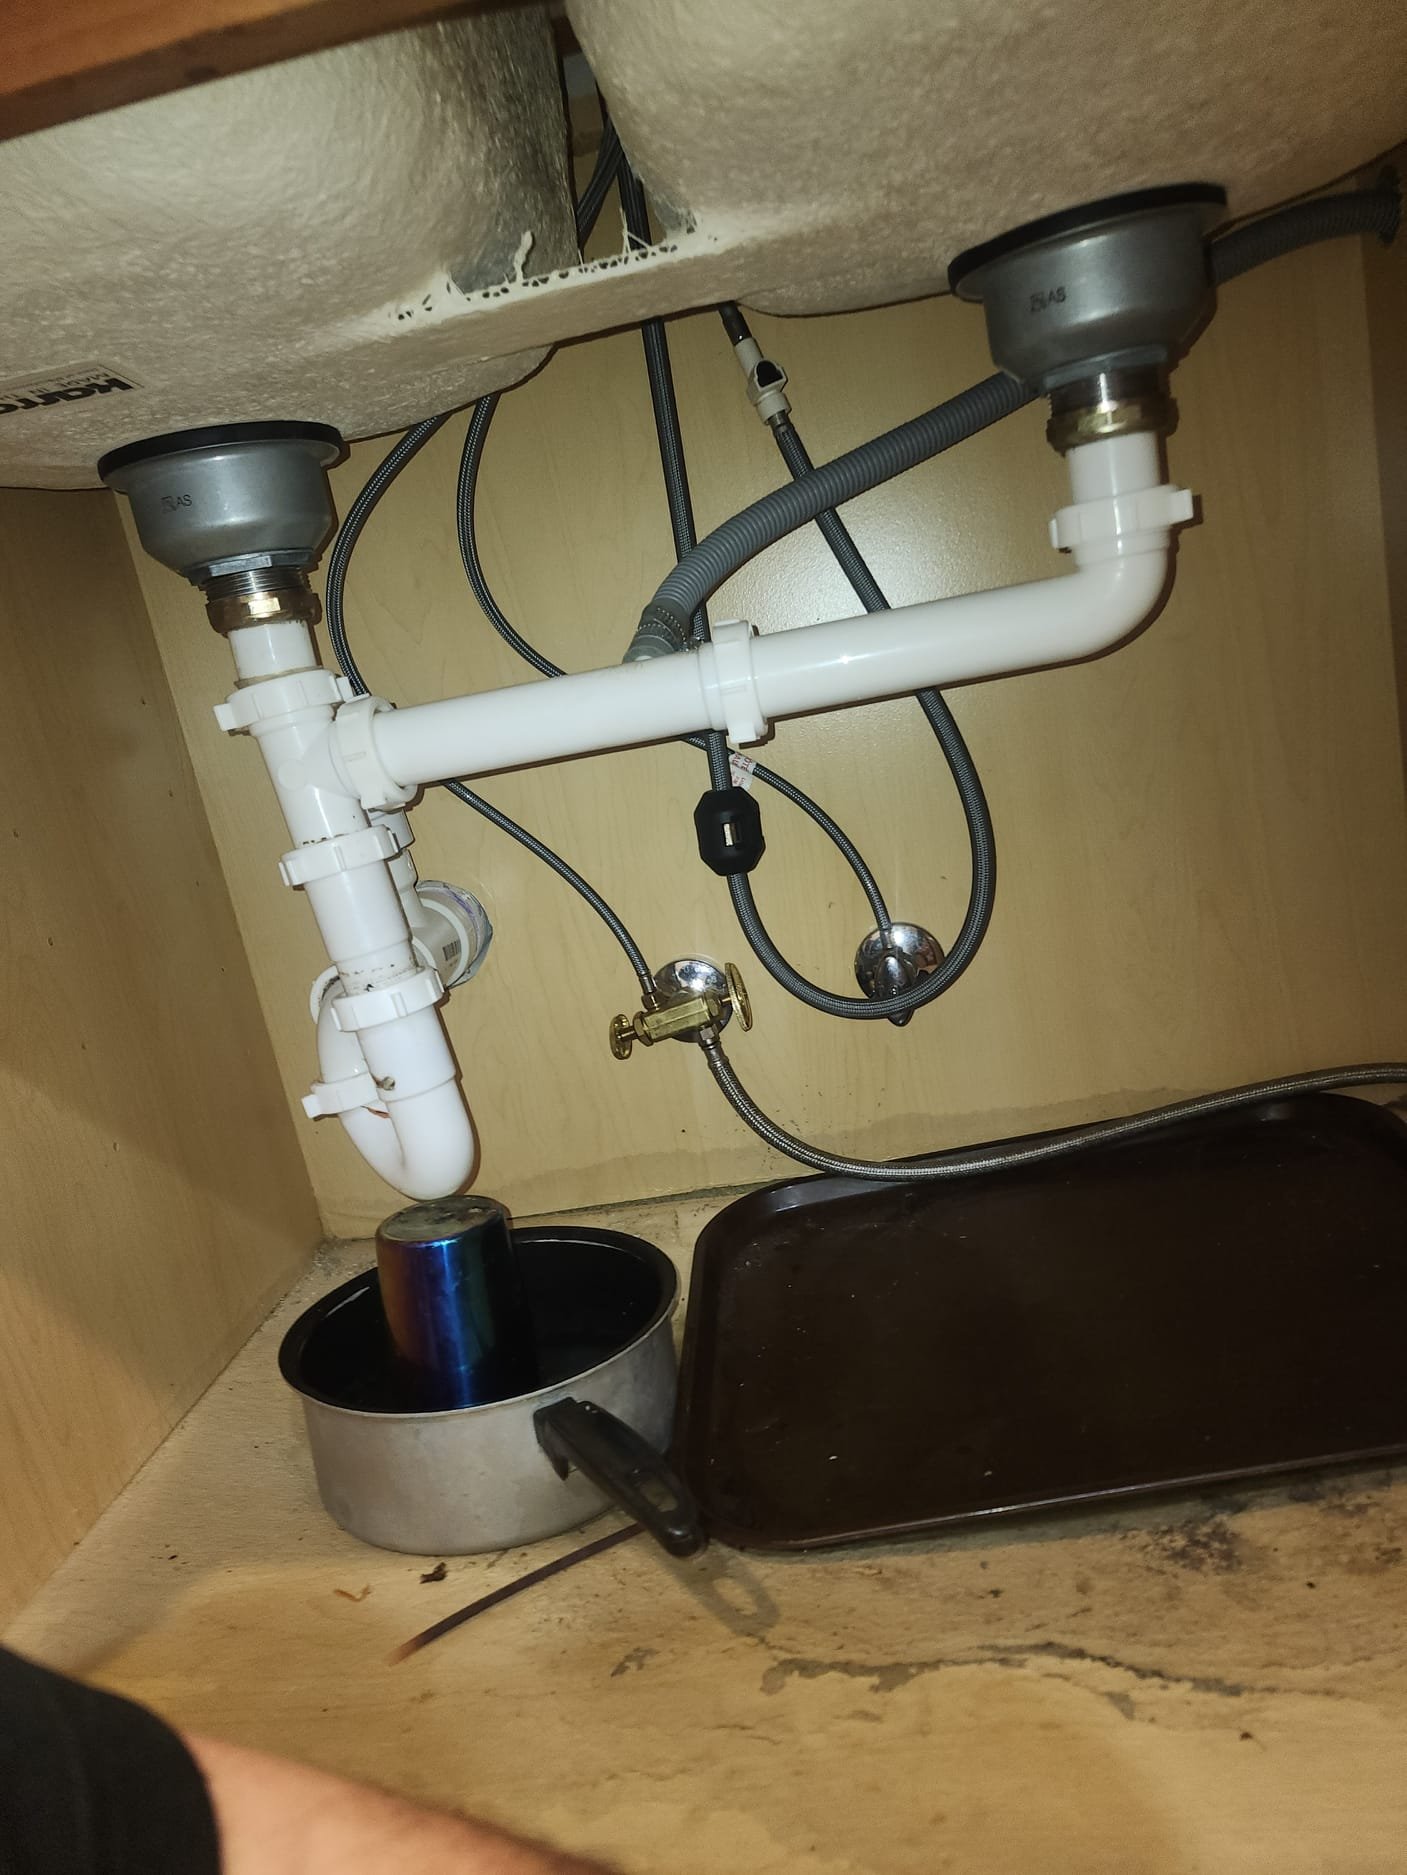
A clean installation with properly sized pipes prevents stress at the joints and keeps everything dry.
2. Measure Carefully Before Cutting
If you’re replacing a section of drain or supply line, measure twice before making any cuts. This helps avoid tension on fittings, which often leads to drips or worse.
3. Confirm Showerhead Thread Size
Not all showerheads thread onto every arm. If you’ve purchased a new model, verify the diameter and threading standard before you try to install. If it doesn’t match, you may need a short extension arm.
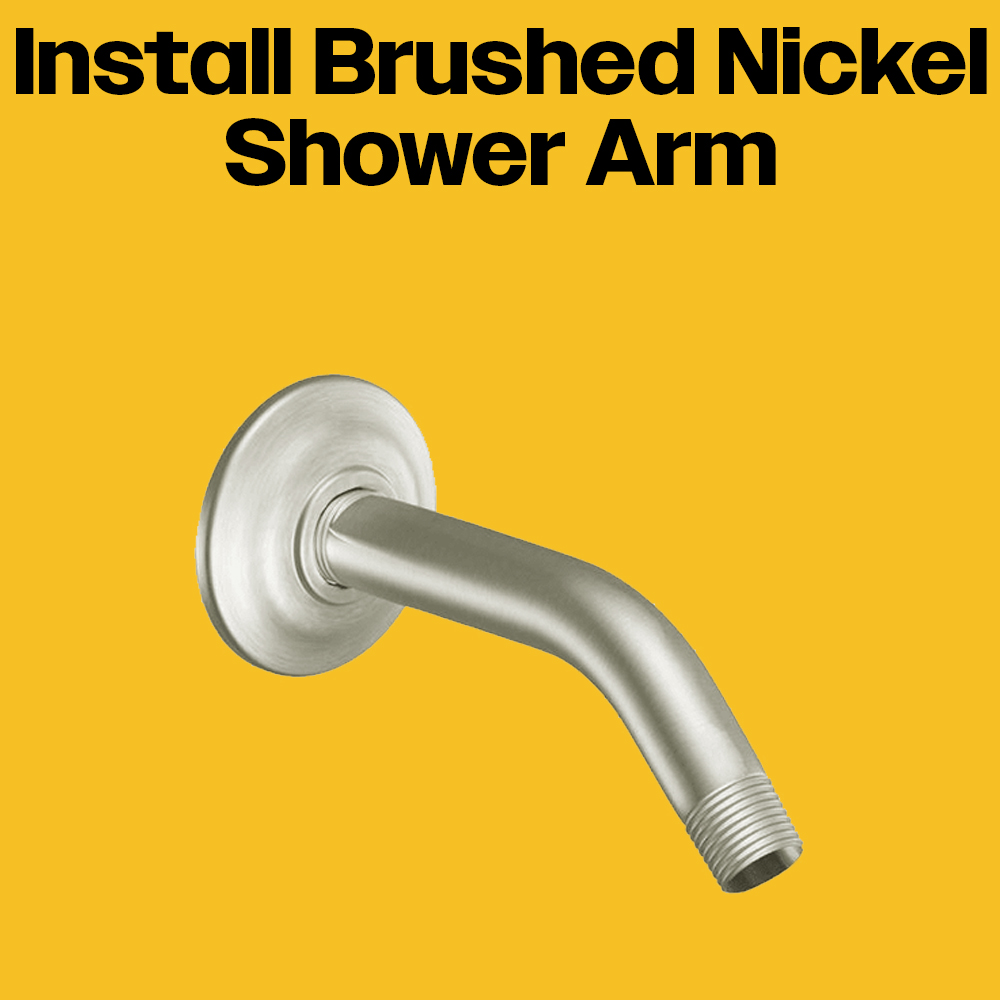
A correctly sized extension arm bridges the gap, aligning your new showerhead perfectly.
4. Test for Leaks After Any Repair
Once work is complete, run both the sink and shower to spot any drips. Look under the sink while someone else turns the faucet on and off, and check around the shower connections for moisture.
5. When in Doubt, Call a Professional
A friendly reminder that tackling plumbing fixes yourself can save money, but mistakes may lead to water damage. An HEP technician brings the right tools, parts, and expertise to get it done safely and efficiently.
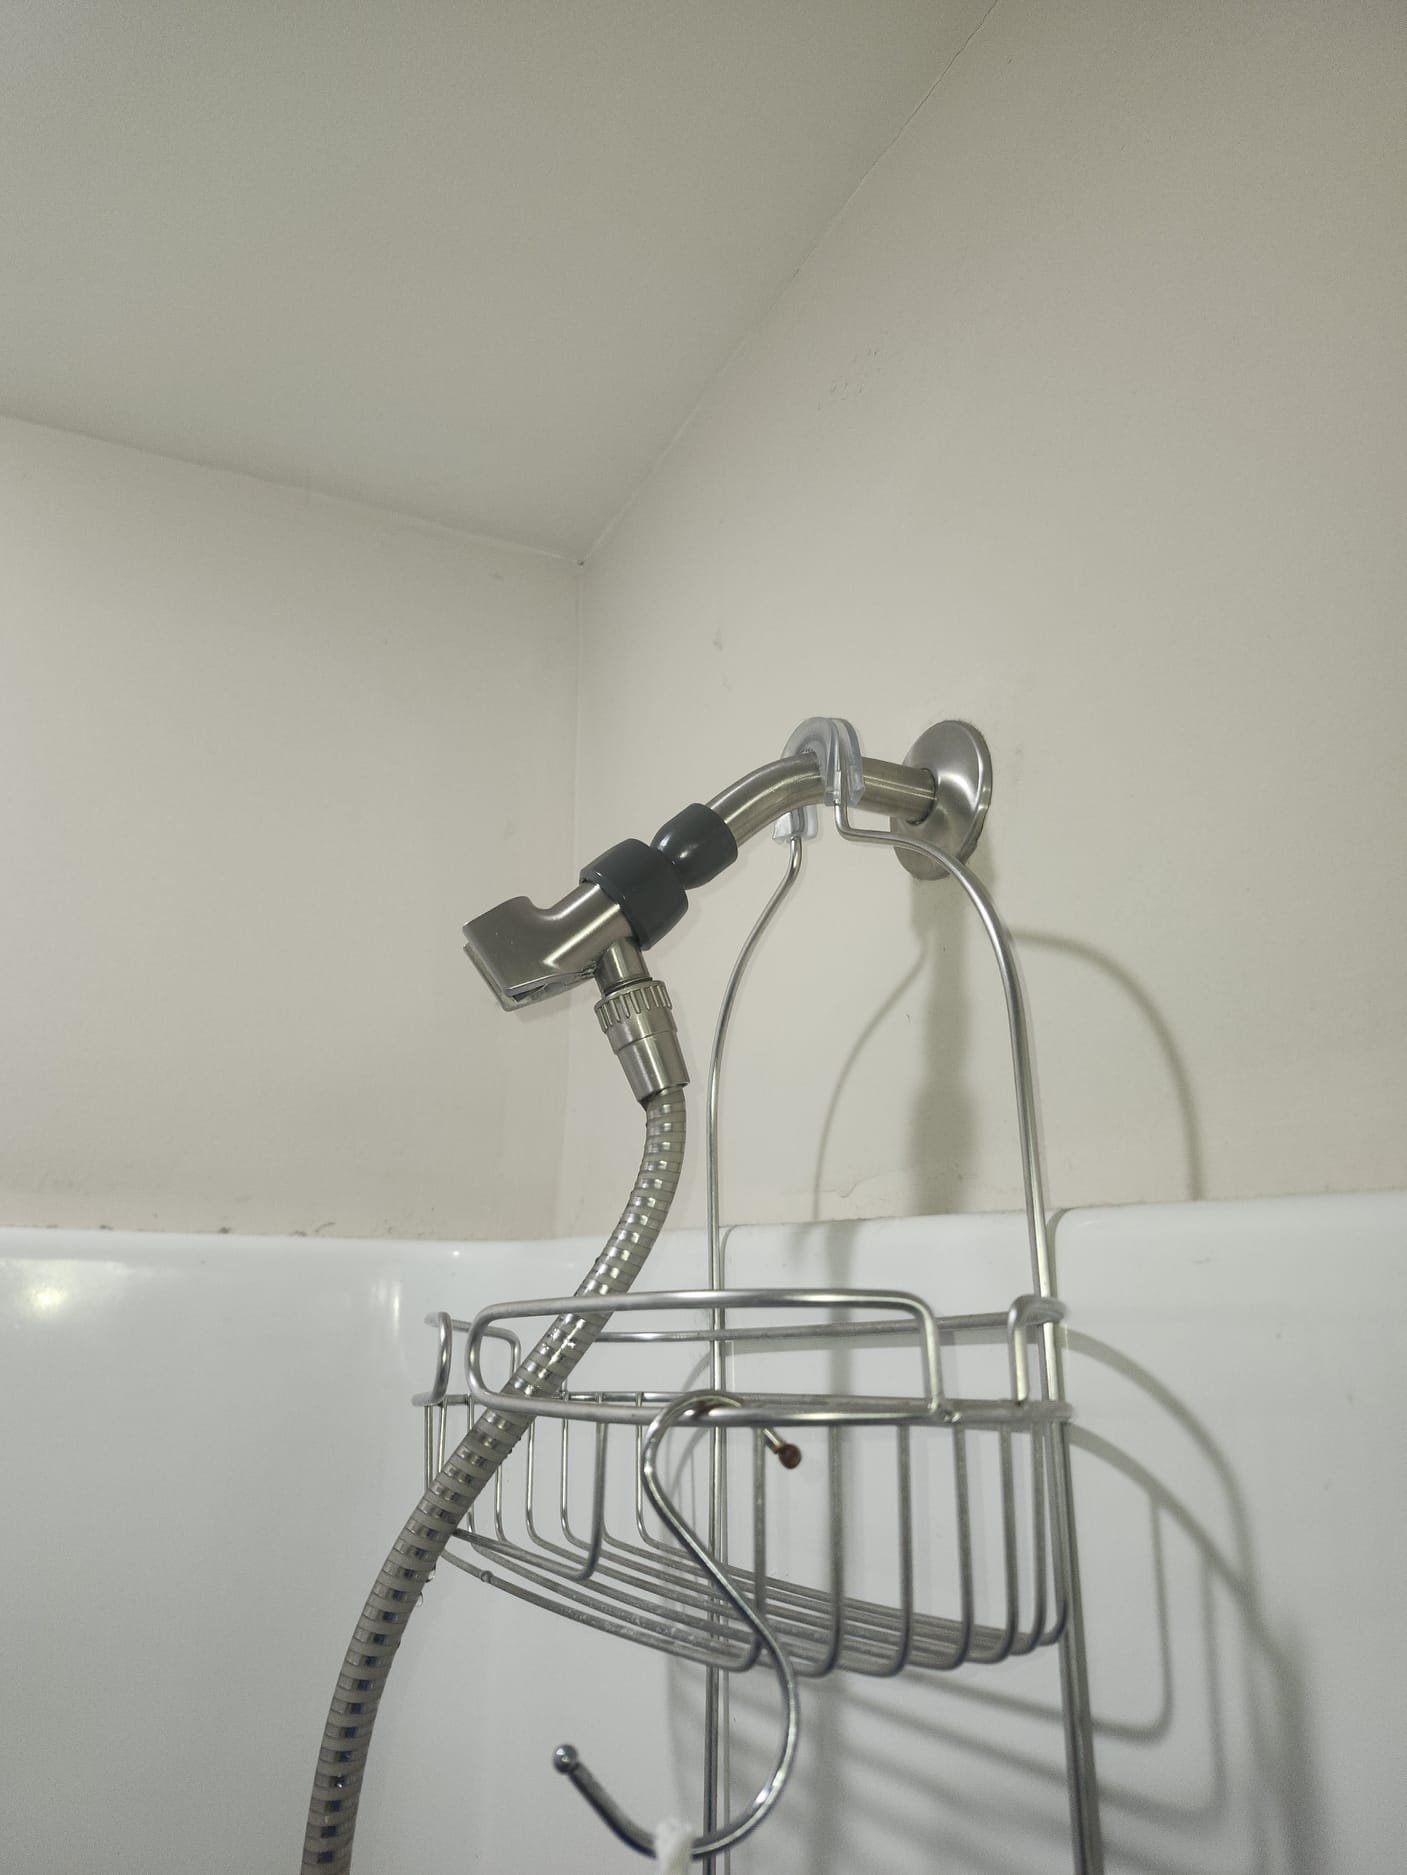
The final touch: a tidy, leak-free shower that looks and works like new.
Embrace these simple precautions, and you’ll keep your Harriman home’s plumbing in top shape. Whether it’s a dripping pipe or a mismatched showerhead, a quick inspection and timely repair can save you from larger headaches down the road.
Published on January 28, 2026