Essential Tips for Upgrading Your Bathroom Exhaust Fan in Ocoee
Related Resources: Electrical, Ocoee, Electrical in Ocoee
Customer Case Study
Last week in Ocoee, a homeowner discovered their new bathroom fan-light-speaker combo wouldn’t power on after a DIY installation attempt. A misplaced ground wire led to a short that rendered the device unusable. Frustrated and eager to get their venting and lighting back online, they called in HEP to set things right.
How the Issue Was Resolved
A skilled HEP technician started by verifying the existing wiring and ensuring power was safely turned off. After diagnosing the miswiring, the technician sourced a correctly sized replacement fan-light module to match the ceiling opening—avoiding any additional drywall repairs. Finally, each switch function was tested, confirming that the light, fan, and speaker worked flawlessly before restoring power and tidying up the workspace.
1. Measure Twice, Order Once
Before you buy a new fan or light combo, double-check the rough opening in your ceiling. Even a three-inch difference can turn a straightforward swap into a last-minute scramble for a different fixture.
Tip: Keep a small tape measure handy. Record both the width and length of the existing hole before shopping for a new unit.
2. Inspect the Wiring Carefully
Exhaust fans with lights and speakers have multiple wires—power for the fan, separate power for the light, audio controls, and a safety ground. If you’re not confident identifying each conductor, it’s safer to call a professional.

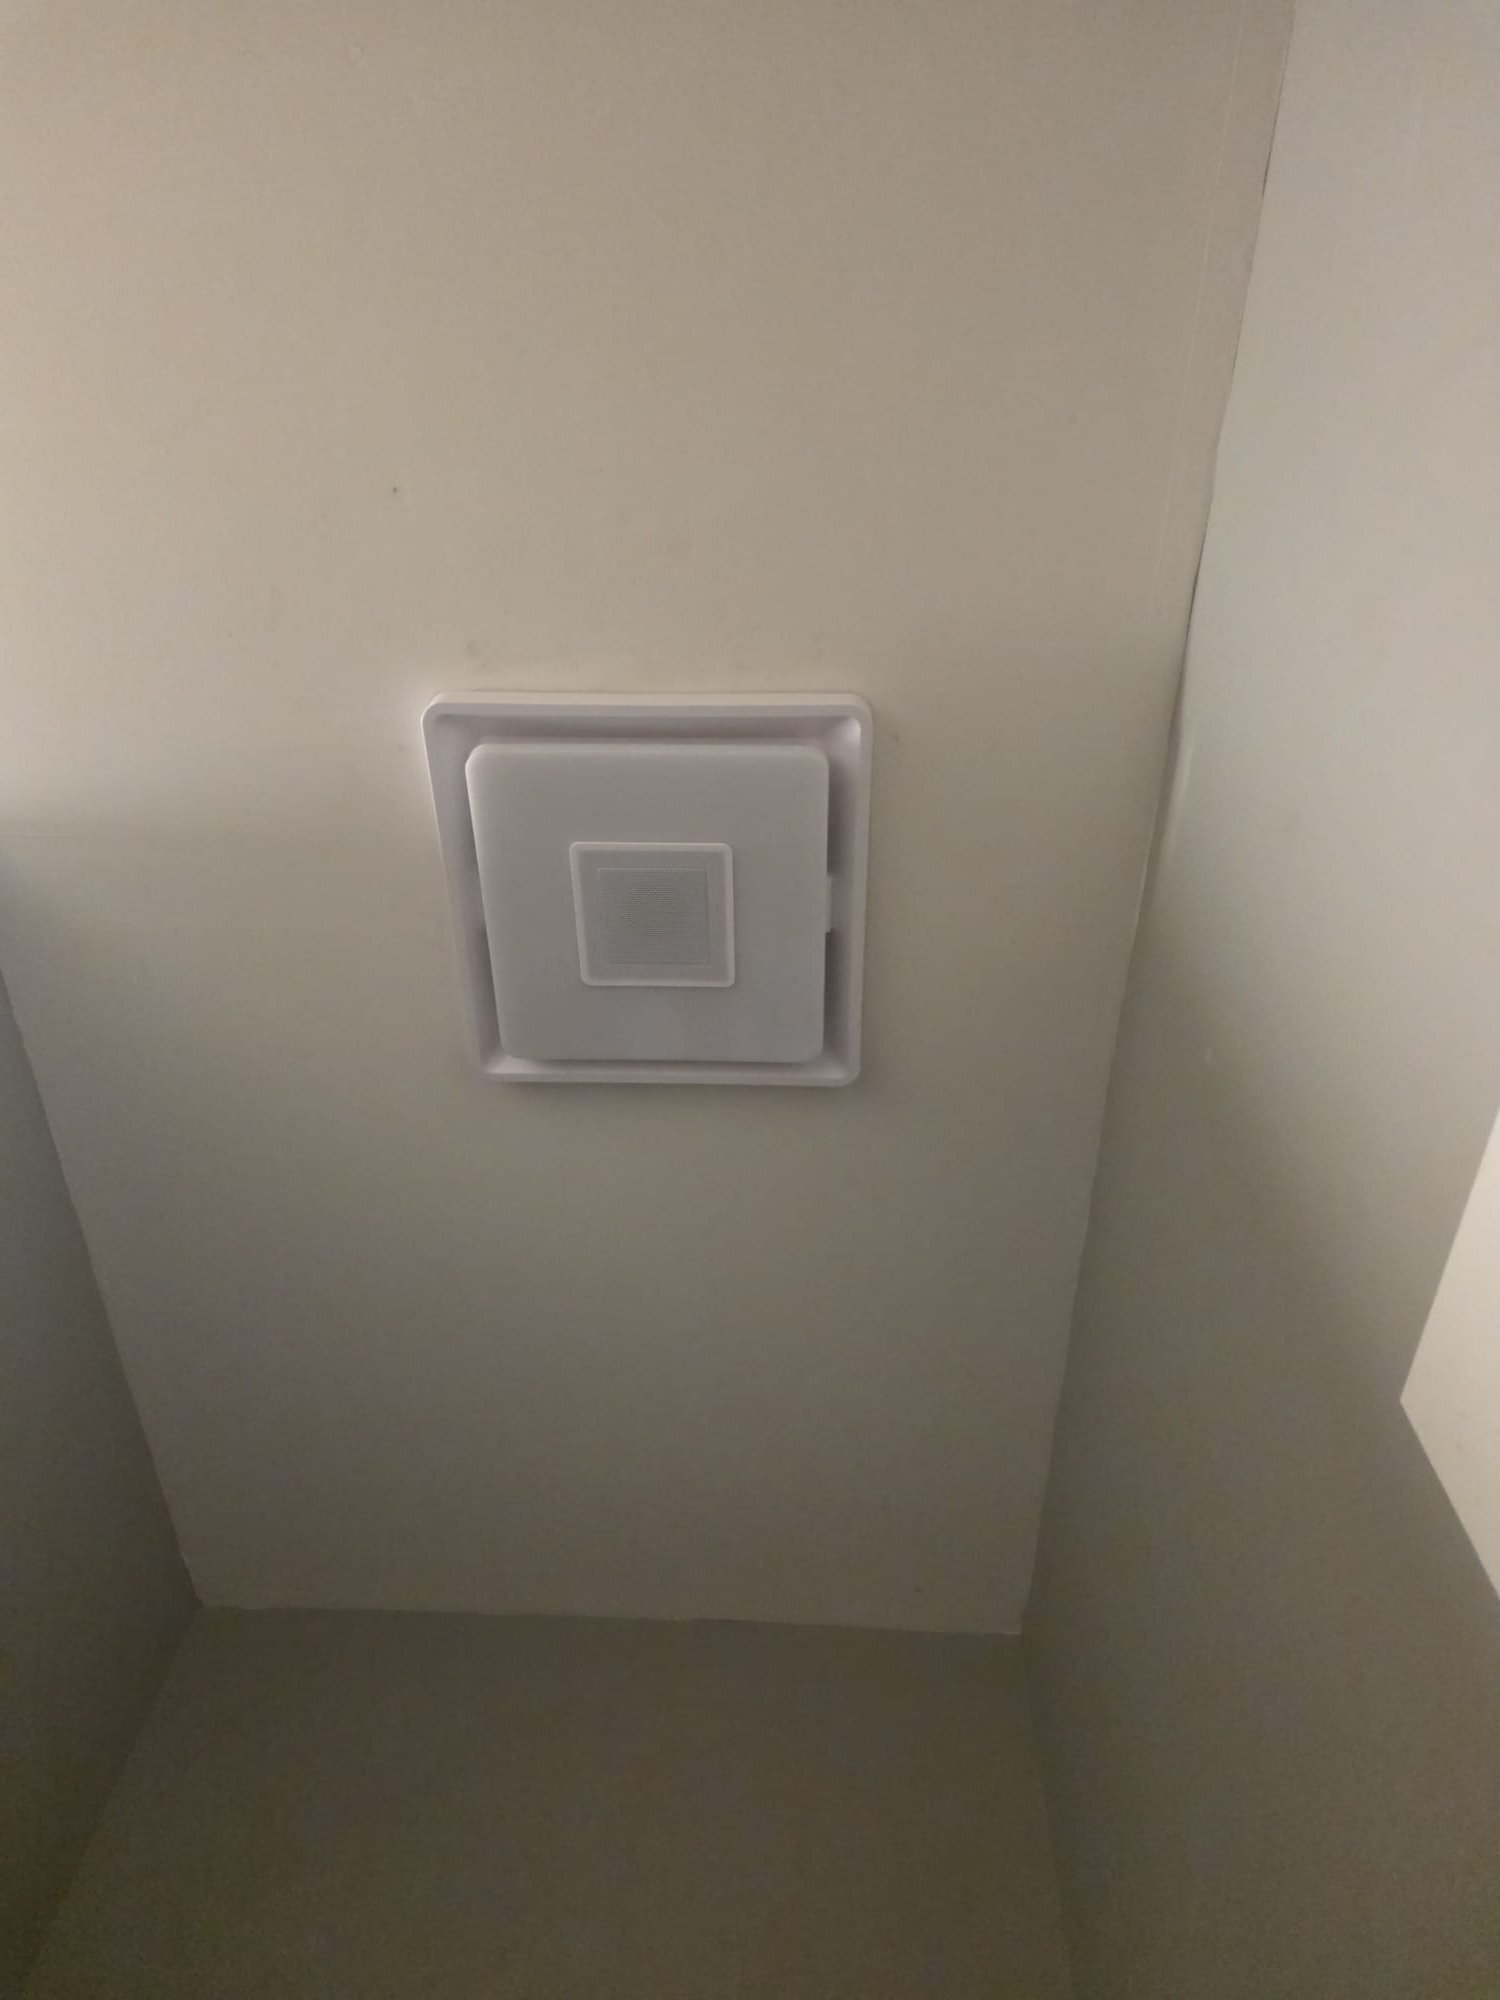
This image shows a fan installed mid-project: note the exposed rough edges around the opening. A properly sized fixture will fit snugly and minimize finishing work.
3. Source the Right Fixture for Your Space
Rather than forcing an ill-fitting model, a HEP technician will find a unit that matches your ceiling’s dimensions. This avoids extra cutting or patching and ensures a clean, finished look.
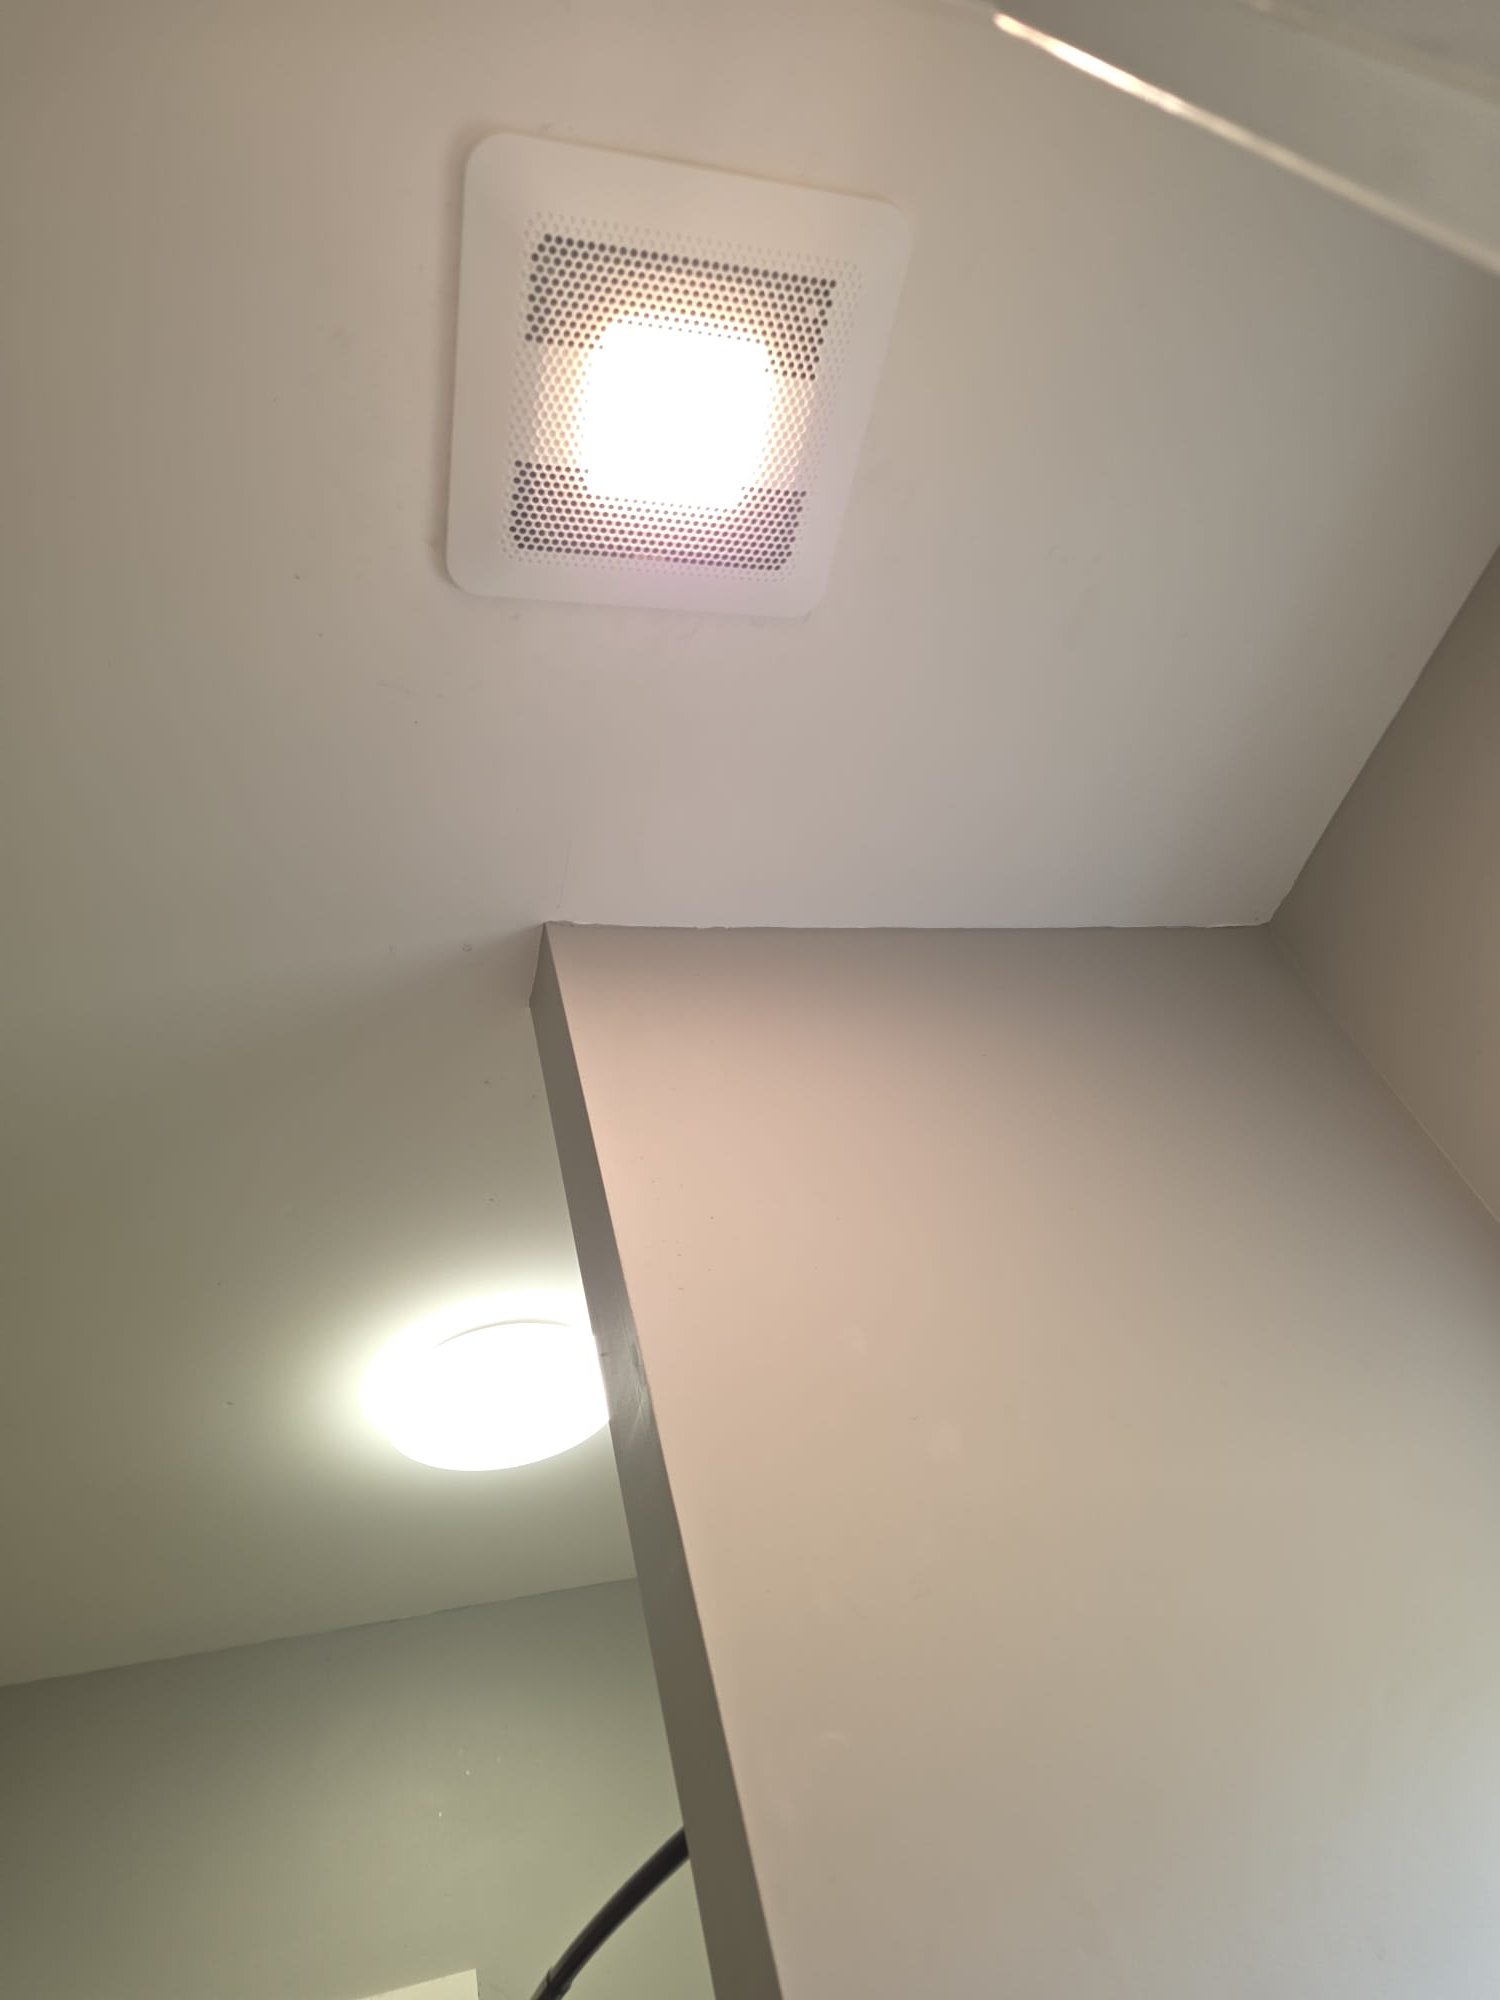
Above is the same fan after the HEP technician secured it and confirmed the fan, light, and speaker were all functioning.
4. Test Before You Patch and Paint
Once wiring and mounting are complete, always test every function—fan speed settings, light brightness, and speaker pairing—before sealing up the ceiling and adding trim or paint.
A final walkthrough prevents you from having to remove your fresh drywall work if something isn’t working.
5. Keep Good Records for Future Maintenance
After installation, note the fixture’s make and model, along with a simple diagram of the switch layout. This comes in handy for any future service calls or when you decide to upgrade again.
By following these steps, you’ll save time, reduce headaches, and enjoy a fully functional bathroom exhaust fan-light combo. If you ever feel uncertain, a qualified HEP technician is just a call away—ready to help with all your home electrical needs in Ocoee.
Published on January 14, 2026