
Sensor Technology
Your trusted partner for professional home services. Quality workmanship, guaranteed satisfaction.

Sensor Technology | Smoke Detectors | Electrical | Talbott
Imagine a smart shield that never sleeps—HEP’s sensor technology brings that peace of mind to every corner of Talbott. Our licensed electricians design and install state-of-the-art smoke detectors that communicate in real time, cut through background noise, and keep both homes and businesses compliant with the latest safety codes. From discreet, hard-wired units to fully networked wireless arrays, we make sure the first wisp of trouble triggers instant alerts and decisive action.
Once your system is in place, we stay on watch with regular testing, battery backup checks, and 24/7 emergency support, so you’re never left guessing whether protection is active. Trust HEP to combine cutting-edge electronics with hometown service, delivering life-saving reliability you can hear, see, and count on—every single day.
FAQs
How do Talbott’s smoke detectors sense the presence of smoke?
Talbott detectors use a dual-sensor design that combines photoelectric and thermistor-based heat sensing. The photoelectric chamber uses an LED and a light-sensitive receiver arranged at right angles. When visible smoke particles enter, they scatter the light toward the receiver, triggering an alarm. At the same time, a built-in thermistor continuously measures ambient temperature; a rapid rise of 8 °C (about 15 °F) per minute activates a supplementary heat alarm. This dual approach delivers faster response to both slow-smoldering and fast-flaming fires while minimizing false alarms.
What is the difference between photoelectric and ionization sensors, and which does Talbott recommend?
Photoelectric sensors detect larger, slow-moving smoke particles typically produced by smoldering fires, whereas ionization sensors are more sensitive to the tiny combustion particles from fast-flaming fires. Because photoelectric technology is less susceptible to nuisance triggers from cooking or steam and contains no radioactive material, Talbott has standardized on photoelectric sensing augmented by heat detection. This combination gives all-hazard coverage without the regulatory constraints and end-of-life disposal issues of ionization units.
How often should I test, clean, and replace my Talbott smoke detector?
• Test the alarm every month using the integrated test button. • Vacuum the exterior vents every six months to remove dust and cobwebs; avoid aerosol cleaners that can coat the sensor. • Replace the backup battery annually or when the low-battery chirp sounds. • Replace the entire detector after 10 years, even if it still passes the test function, because sensing components naturally degrade over time. A built-in end-of-life timer will emit an audible alert to remind you when the 10-year mark is reached.
Can Talbott smoke detectors integrate with smart home or building management systems?
Yes. Our SmartLink series offers Wi-Fi, Z-Wave, or hard-wired dry-contact models that communicate with most major smart-home hubs (Amazon Alexa, Google Home, SmartThings) as well as commercial BACnet and Modbus controllers. Through the Talbott Connect app you can receive real-time mobile notifications, remotely silence non-emergency alarms, and generate maintenance reports for facilities compliance.
What certifications and standards do Talbott smoke detectors meet?
Every residential model is UL 217 and CAN/ULC-S531 listed, while our commercial line complies with UL 268, NFPA 72, and EN 54-7. Detectors are FCC Part 15 and CE marked for electromagnetic compatibility and RoHS compliant for hazardous-substance restrictions. Meeting these standards ensures reliable performance, international acceptance, and eligibility for most insurance and code requirements.
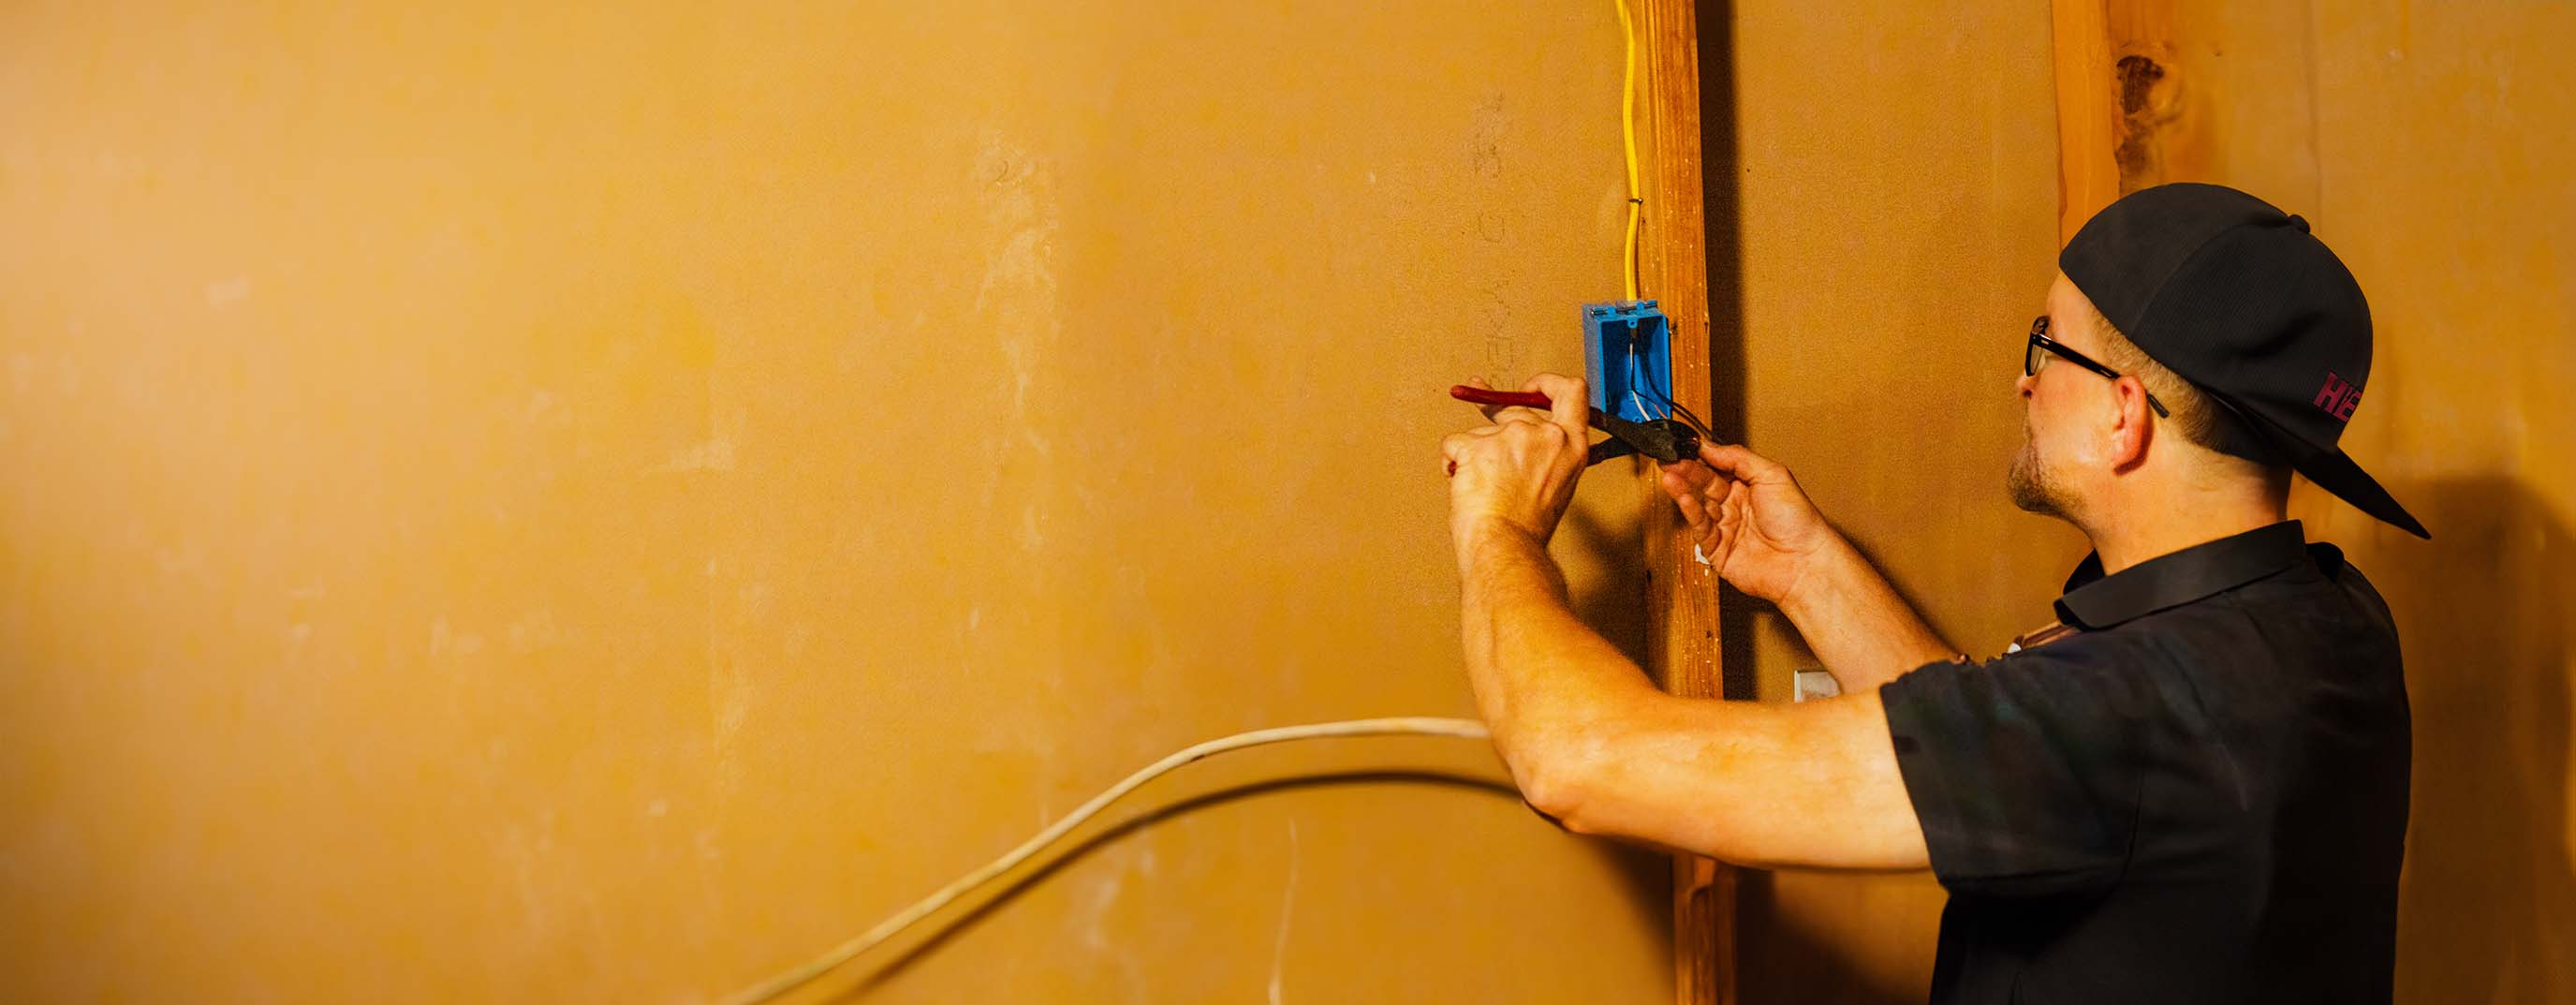
What is involved in installing a Talbott smoke detector, and do I need an electrician?
Battery-powered models can be installed by homeowners in about 10 minutes using the included mounting plate and screws. For 120-V hard-wired units—especially those that are interconnected—Talbott recommends a licensed electrician to ensure the branch circuit is properly fused, neutral is not switched, and interconnect conductors are correctly daisy-chained. The installer should place detectors on ceilings at least 10 cm (4 in.) from corners, avoid HVAC vents, and install one unit per level plus inside every sleeping area, following NFPA 72 guidelines. After power-up, press the test button to confirm successful installation.