Essential Tips for Homeowners After a Water Heater Upgrade
For top-quality Plumbing services in Kingston, especially Plumbing in Kingston.
Case Study: A Kingston Homeowner’s Leaking Heater
In a cozy Kingston residence, a homeowner discovered water pooling around an aging tank heater. With more than ten years of service behind it, the unit had begun to drip and risked causing damage to the surrounding area. Concerned, they called an HEP technician for an evaluation and a clear replacement plan.
By the end of the appointment, the old low‐profile tank was swapped for a taller, modern water heater. The plumbing lines were raised to match the new unit’s height, the electrical wiring was extended to a dedicated disconnect, and a thorough leak test confirmed everything was secure and heating properly.
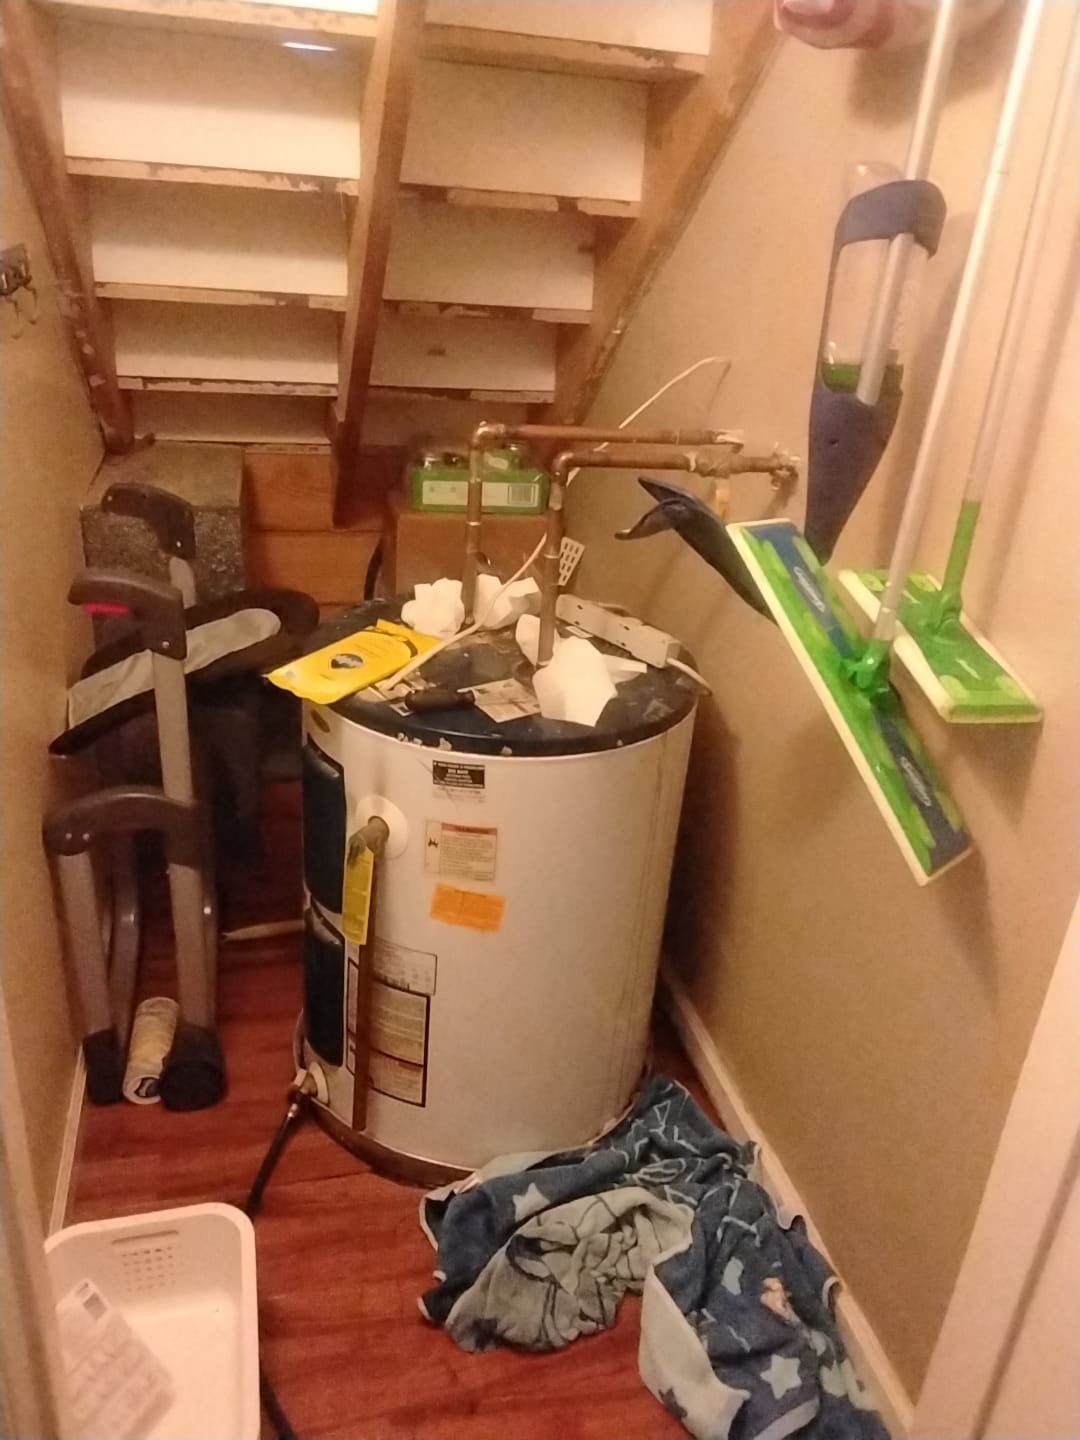
This “before” shot shows an older heater tucked into a crowded closet. Keeping that area clear not only makes routine checks easier but also helps spot small drips before they become big problems.
Professional Piping for Lasting Performance
When the new heater arrived, the technician installed fresh copper pipes and quality fittings. Properly aligned, soldered joints reduce the chance of leaks and ensure efficient hot-water flow.
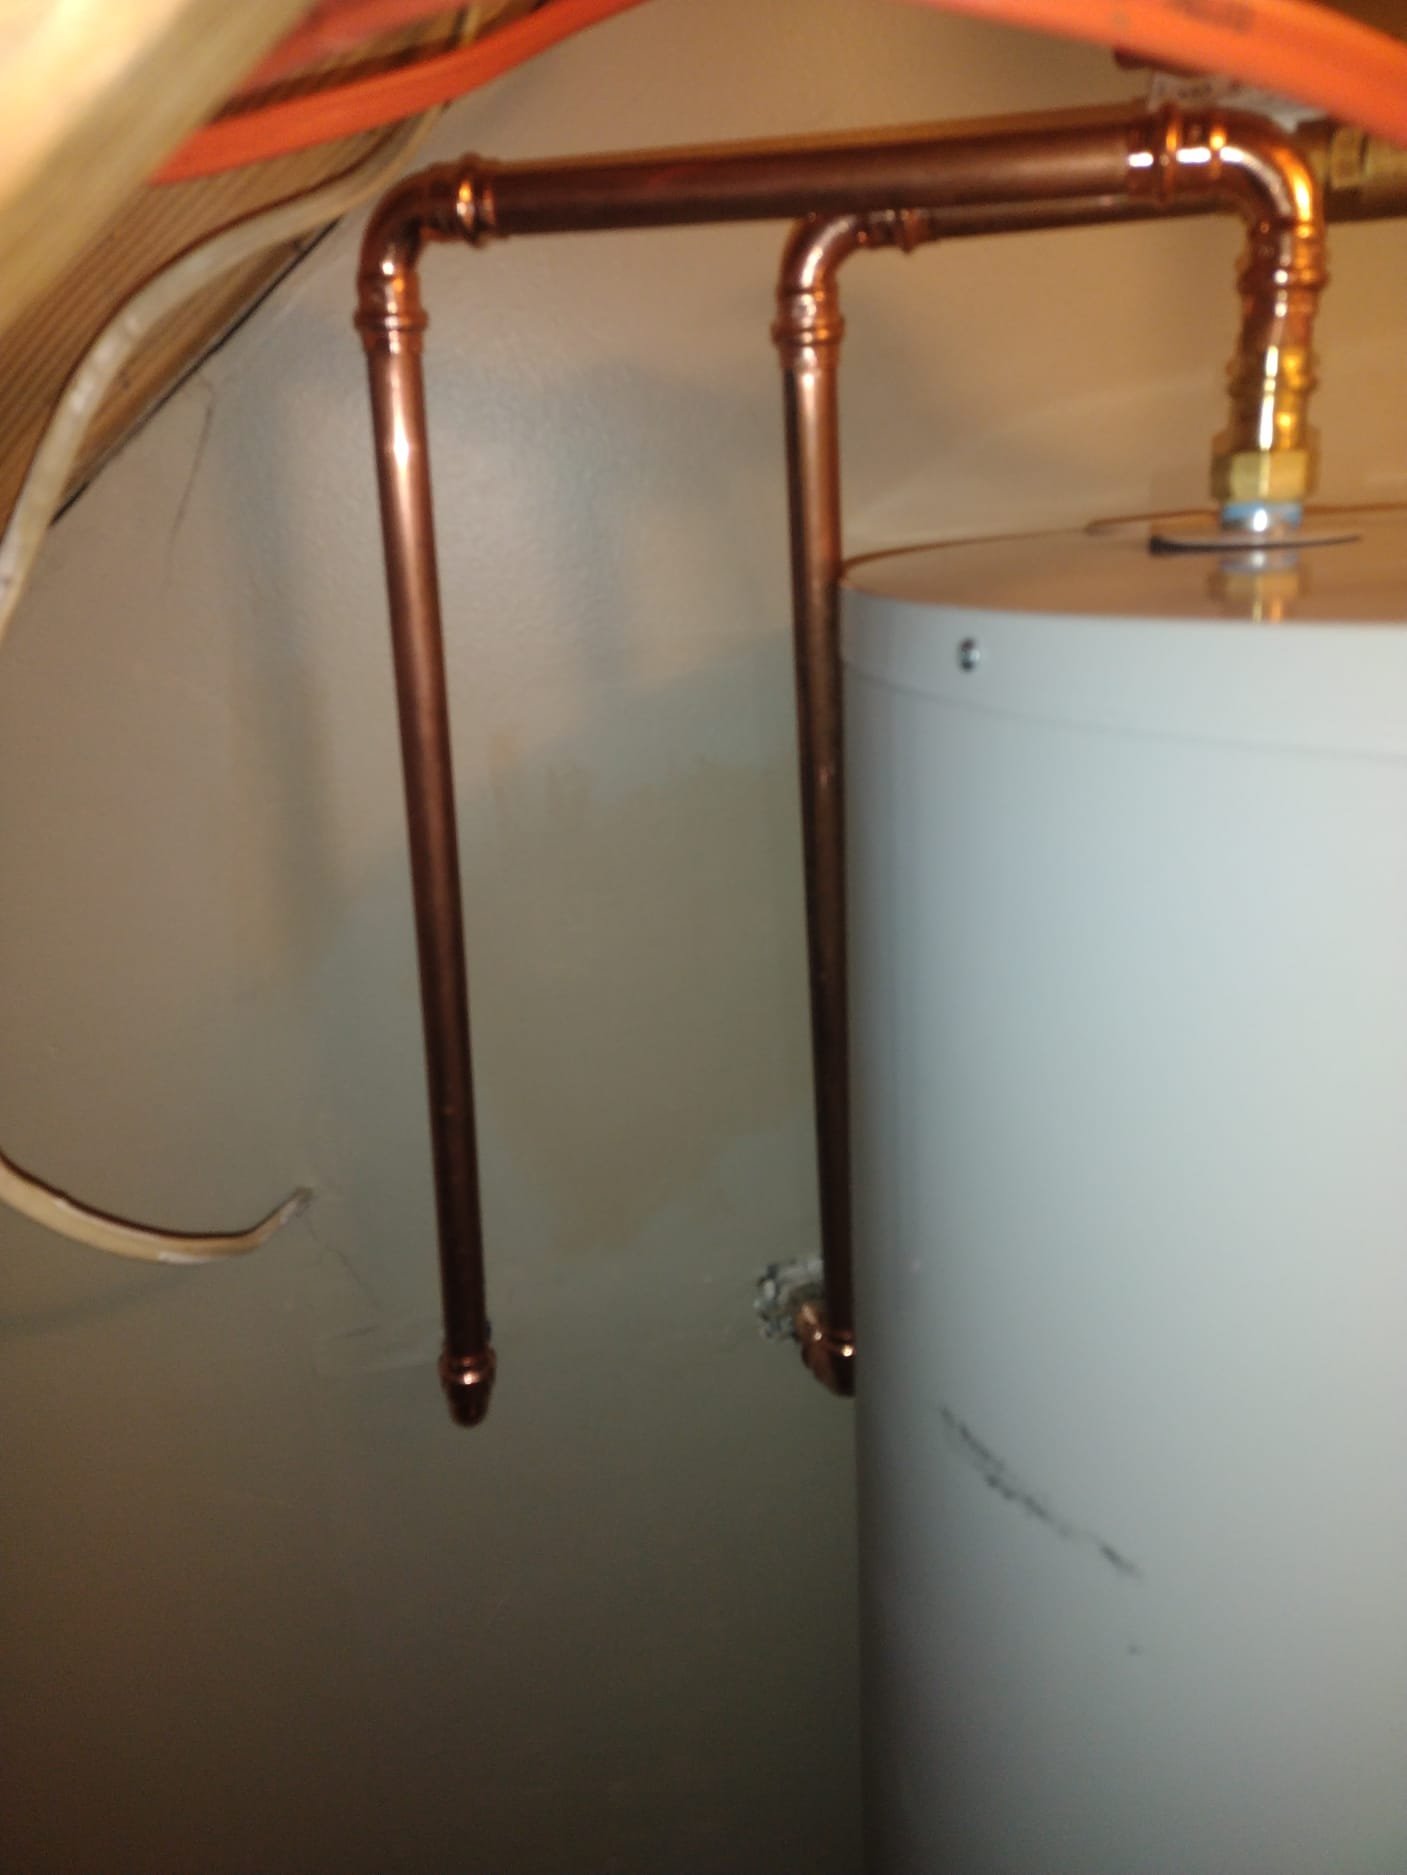
Notice the neat run of shiny copper lines. That level of precision prevents leaks, boosts performance, and cuts down on energy waste.
A Cleaner, More Efficient Tank
Upgrading to a taller tank freed up valuable floor space and improved access for future servicing. The new model comes equipped with built-in safety features and clearer labeling for peace of mind.
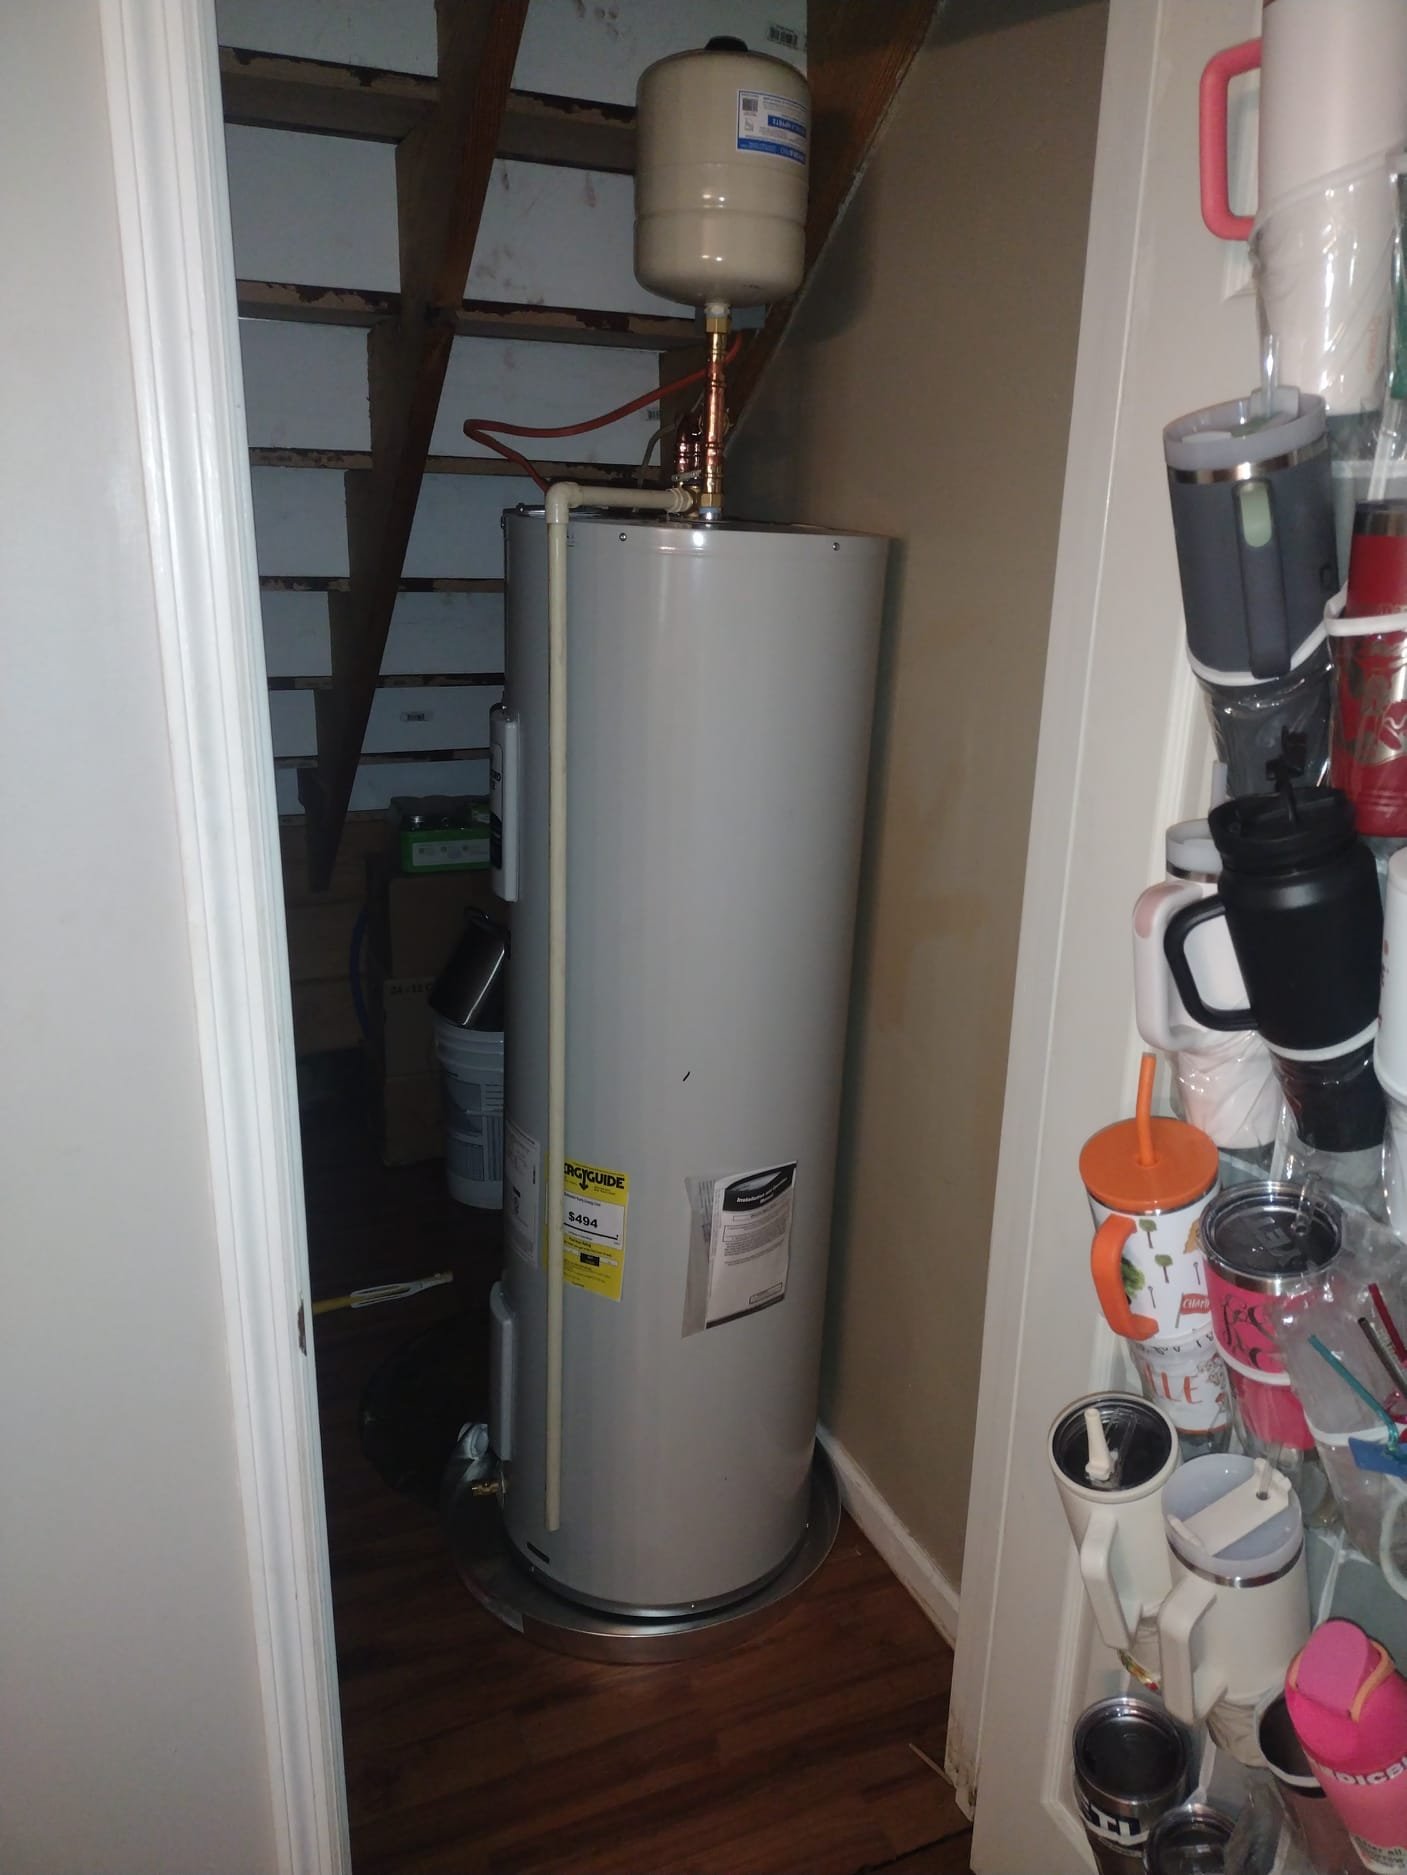
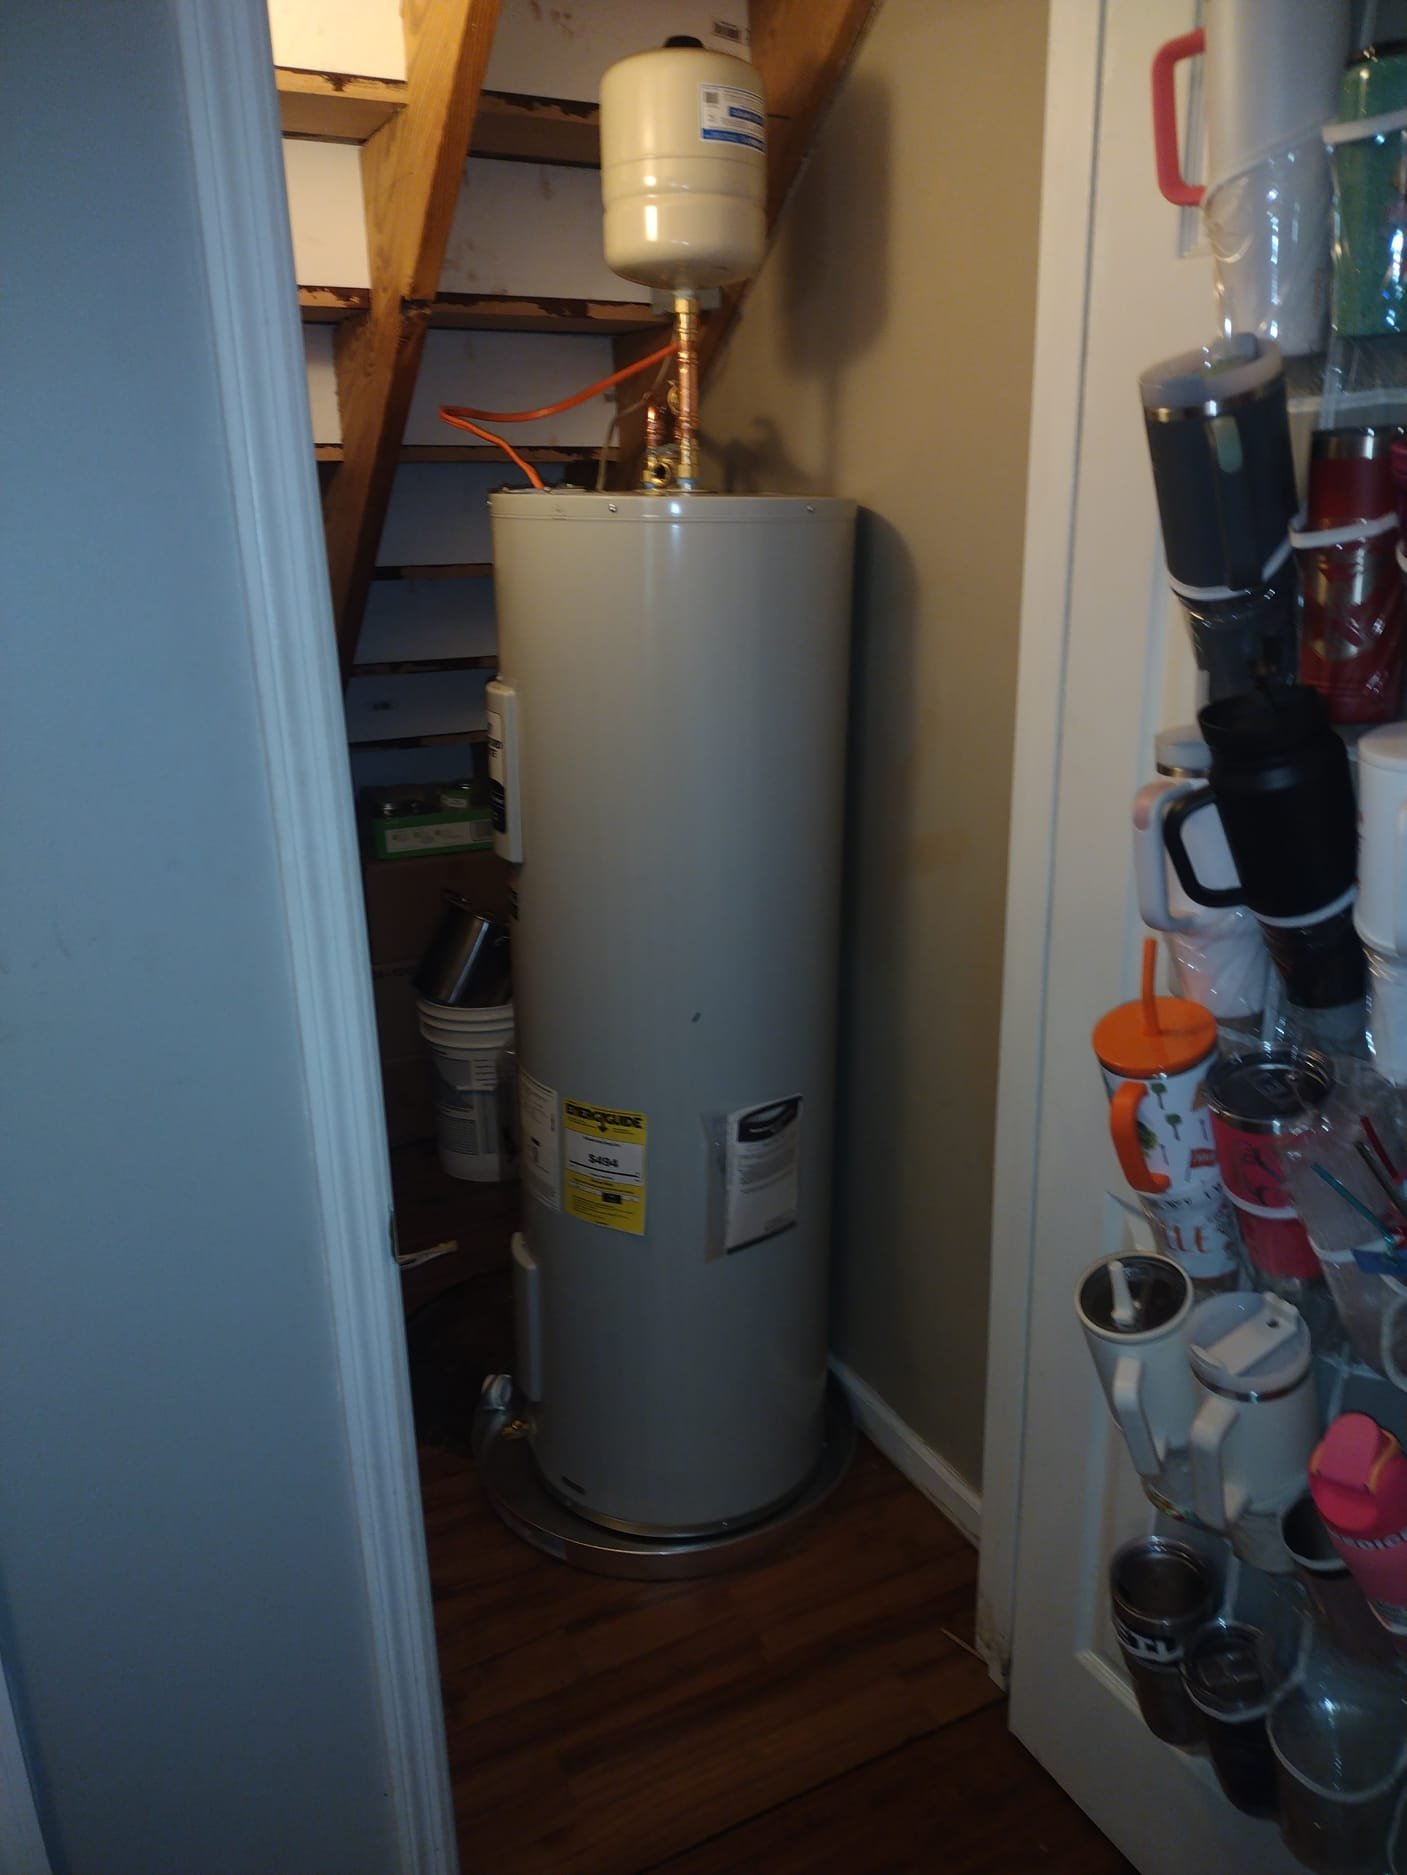
Here you see an expansion tank mounted above the heater—an important addition that helps manage pressure changes, protecting your plumbing system and extending the unit’s lifespan.
Added Protection and Peace of Mind
The technician also placed the new heater in a drip pan and verified every electrical connection. A final power check confirmed stable voltage, and a full leak test insured there were no hidden drips.
A drip pan serves as an extra safety net, catching any minor leaks before they can harm your floors or walls.
What a Proper Finish Looks Like
A close-up of the finished setup shows clear labels, accessible shut-off valves, and tidy wiring—all signs of quality workmanship you should expect from a licensed company.
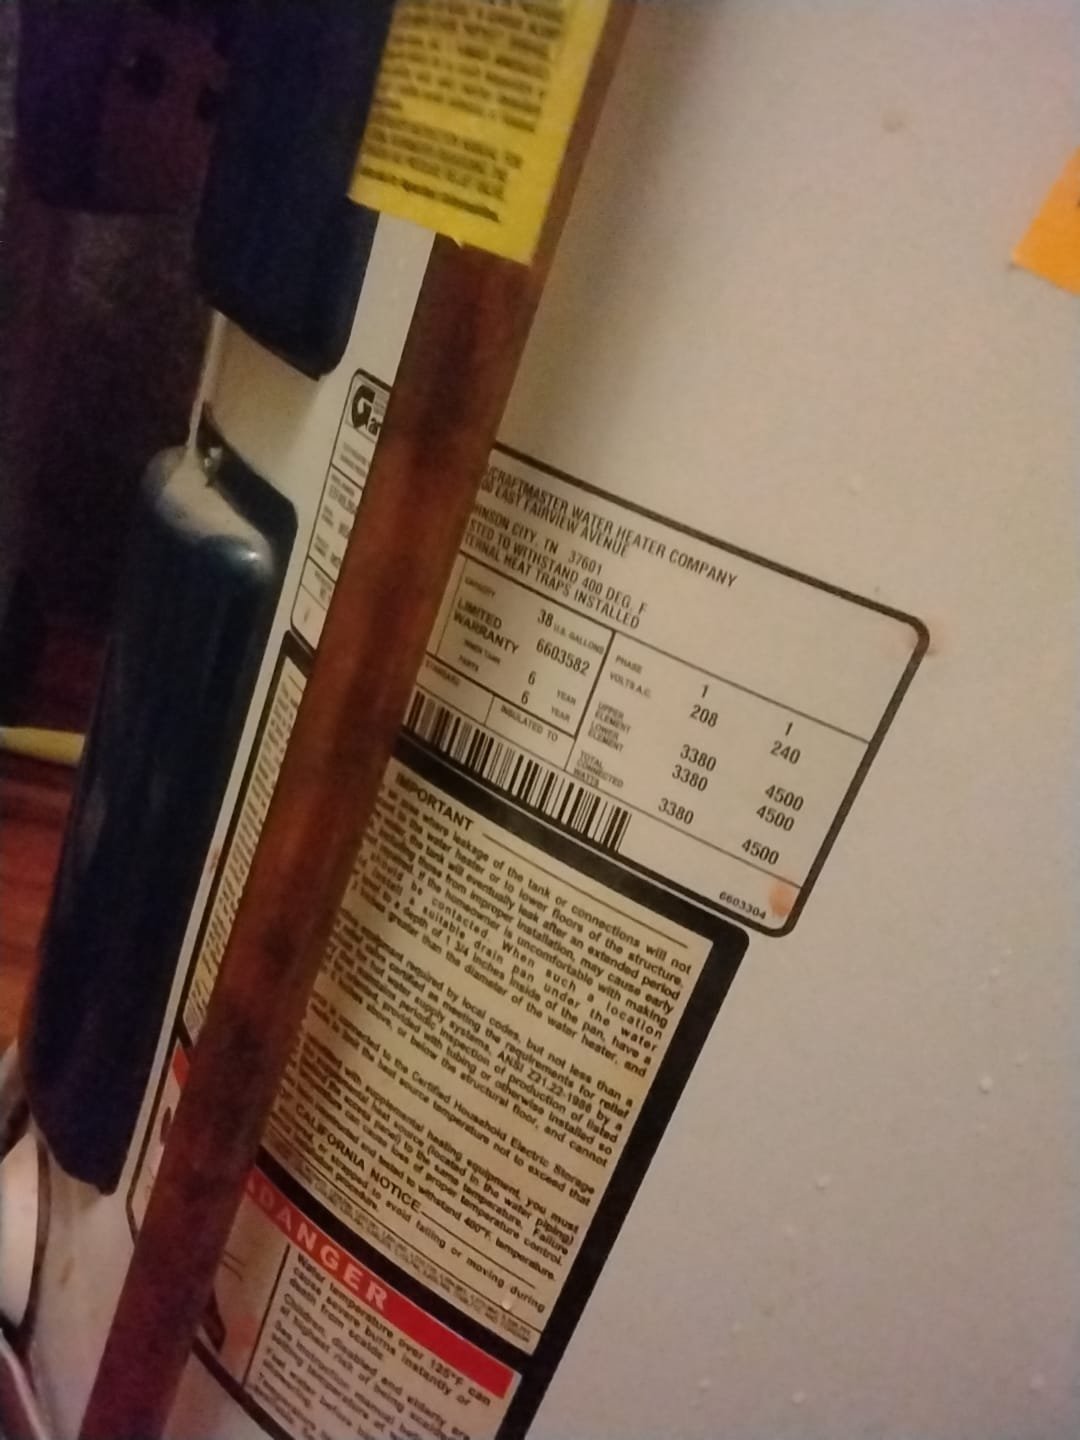
Legible warning tags and carefully organized connections are hallmarks of a professional installation.
Key Takeaways for Homeowners
- Keep the Area Clear: Store items away from your heater for easier maintenance and leak detection.
- Invest in Quality Parts: Copper piping, reliable valves, and an expansion tank all help prevent future headaches.
- Use a Drip Pan: This simple addition protects your floors from unexpected leaks.
- Schedule Routine Inspections: Annual checkups by an HEP technician catch small issues before they grow.
- Verify Electrical Safety: Make sure your disconnect box and wiring meet current standards.
Replacing a water heater doesn’t have to be stressful. With the right preparations and a skilled technician from HEP, you’ll enjoy reliable hot water and peace of mind for years to come.
Published on September 2, 2025